Remember when you thought you didn't like chicken because it was boring? Think again, my friends. Think again. You need these deliciously crispy cast iron chicken thighs in your life. Like, immediately.
Recipe: $3.50 | Per Serving: $0.88 | Yield: 4 Servings
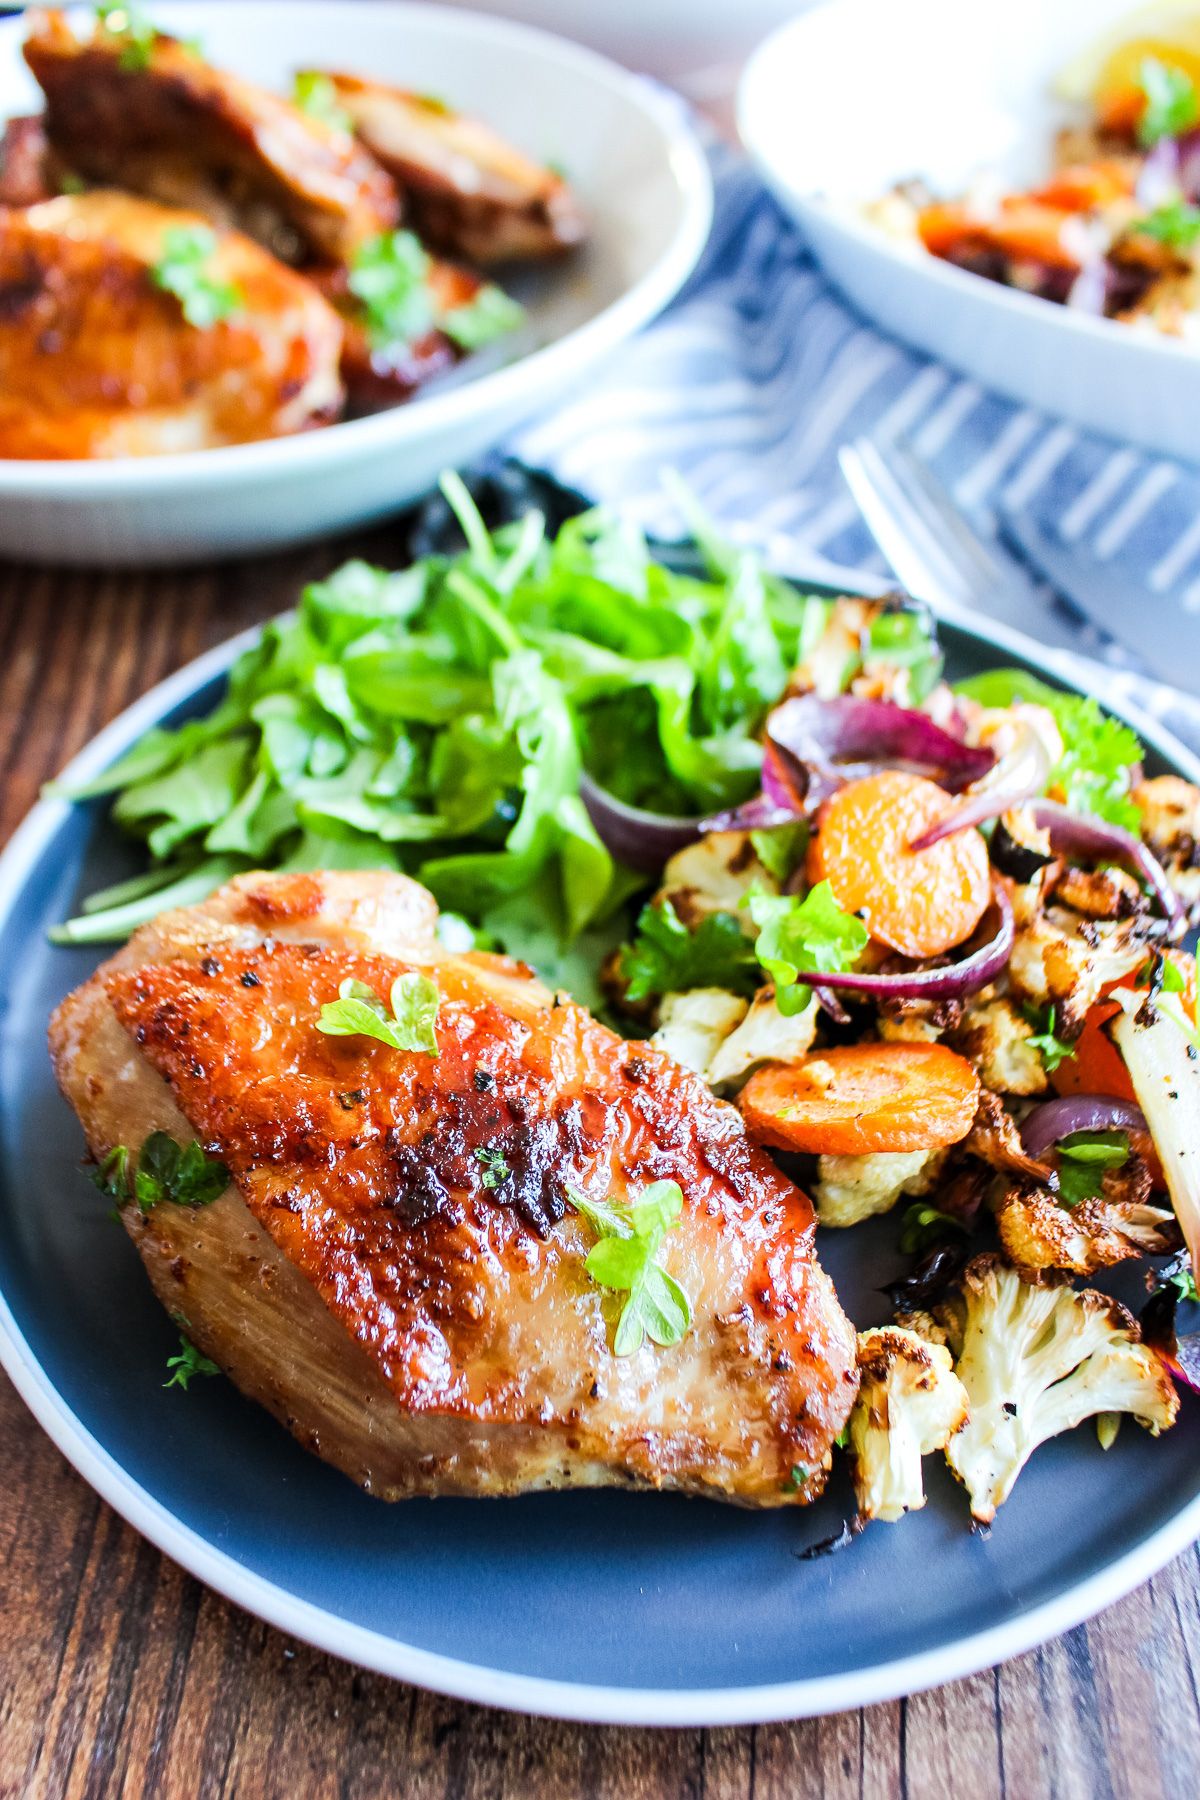
This crispy chicken thighs in a cast iron skillet dish is great for serving guests because you can start cooking it early, then turn it to low heat, and then flip it when all the guests have arrived. As they get settled with drinks and such, the chicken can finish cooking. I have made this dozens of times over the years and it always comes out perfectly.
Jump to:
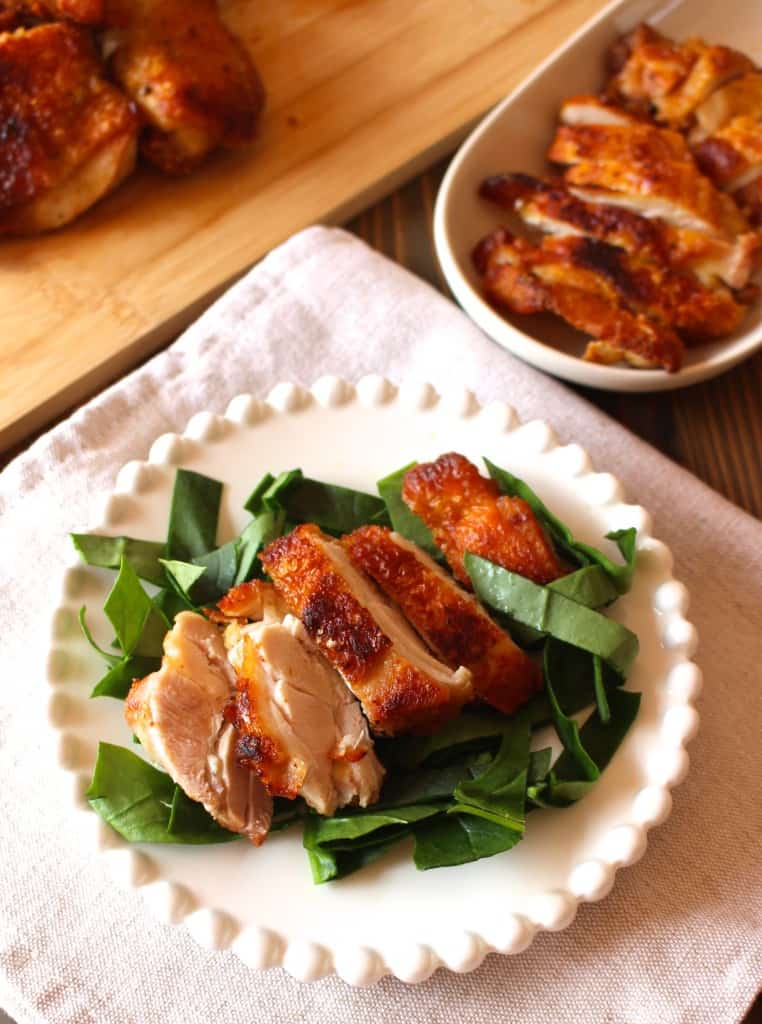
This recipe was originally published in November of 2015. I have made it approximately 100 million times since then. I updated this post to have new pictures (except for the one below - for posterity!) and clearer instructions, but the recipe is otherwise unchanged.
Why You Will Love This Cast Iron Chicken Thighs Recipe
- Simple! Straightforward! Dare I say fail-proof? As long as you get your heat right at the beginning, this recipe is nearly hands-off and almost impossible to mess up.
- Delicious - seriously! The chicken skin (if using skin-on) gets so delightfully crispy. I have friends who I served this for back in 2015 who still make their chicken thighs this way!
- Great for a crowd. I actually love to make this for dinner guests. I can start cooking it ahead of time, and then just flip the chicken when they arrive. Then it will be ready to go as soon as they've settled and are ready to eat.
Ingredients
For this recipe, you basically just need chicken thighs with the skin on, and some seasonings. No oil needed! Be sure to check the recipe card for the full ingredients.
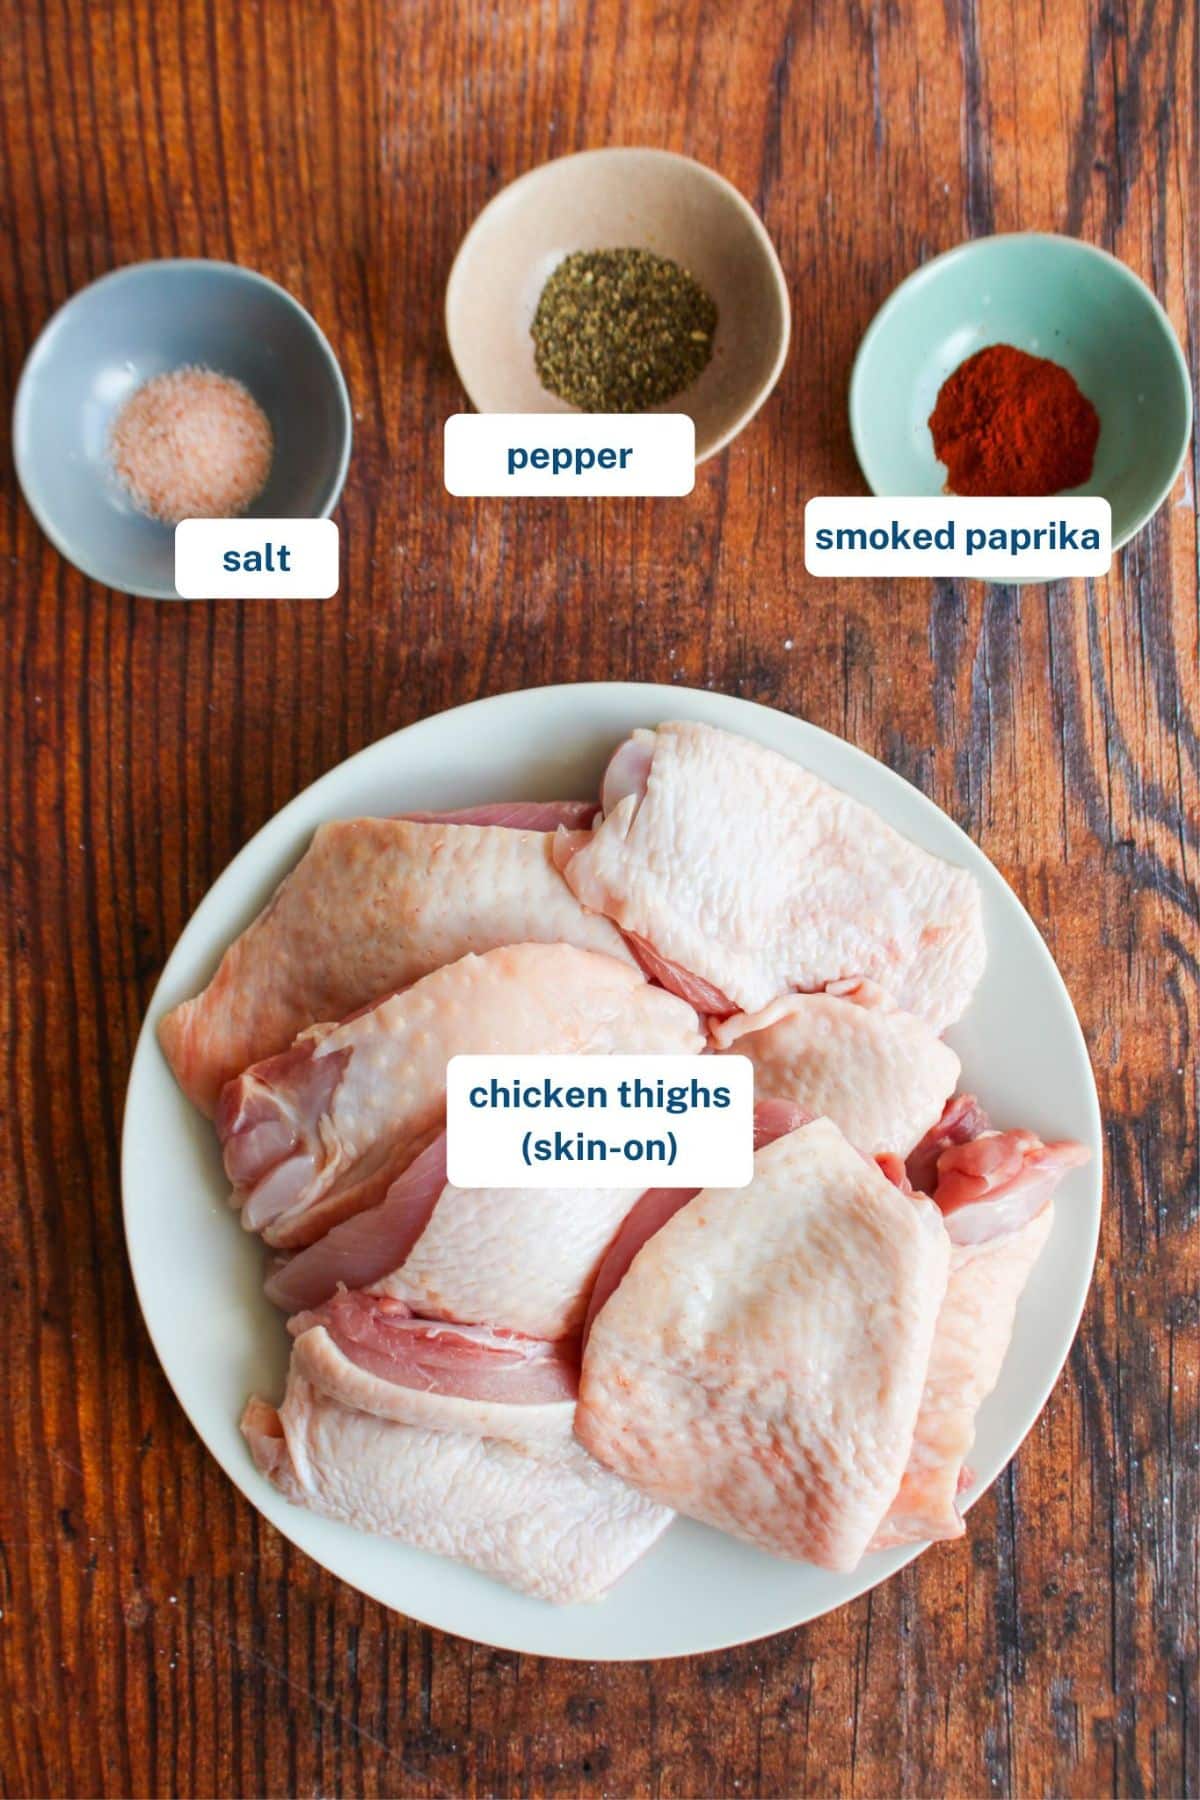
- Chicken thighs: Boneless, skin-on is my preference here. I know in the US that combination is hard to find, so see the modifications below to use bone-in skin-on thighs. You can also use skinless chicken thighs, but the recipe will cook much more quickly and, unsurprisingly, you will not get crispy skin. 😉
- Salt: I'm using a fine salt here - I typically always use pink Himalayan salt, but a fine Celtic salt or even a coarse kosher salt will work here. Use whatever you have! This recipe isn't picky.
- Seasonings: Smoked paprika, salt, and pepper are my go-to seasonings here but feel free to spice things up with whatever herbs and spices you like. I've made this with a wide array of spice blends as well. If using garlic powder or red pepper flakes, don't add them to the skin or they will burn, just add them to the flesh side of the chicken.
Dietary Modifications and Variations
- Oven version: To make this cast iron skillet chicken thighs in the oven, you can follow the recipe as written, then bake the chicken in a 425ºF oven for about 25 minutes. Be sure to use a thermometer to check the doneness of the chicken. Be aware that larger thighs may take longer, while smaller thighs or thigh pieces will take closer to 18 minutes.
- To make cast iron bone-in chicken thighs: I'd follow the recipe as written with one minor change. After flipping, add at least 5-10 minutes of additional cooking time to make sure it is properly cooked through.
- Or, if you're up for it, you can use some sharp kitchen shears (scissors) to cut out the bones and then just use them for stock.
- To use boneless, skinless thighs: This method is much faster since you are not rendering fat out of the chicken skin. Cook for 8-10 minutes on the first side, and 5-10 minutes on the second side.
- To use chicken breast: Don't! Try this chicken recipe instead.
- Flavor Variations: if you're not into smoked paprika, feel free to use a blend of Italian herbs and garlic powder or any of your favorite seasonings instead. I have also made a version with creamy coconut milk. To do this, after flipping the chicken thighs, add about ½ cup coconut milk to the pan and let that simmer for 5-10 minutes, or until the chicken thighs are fully cooked.
How to Make Cast Iron Chicken Thighs
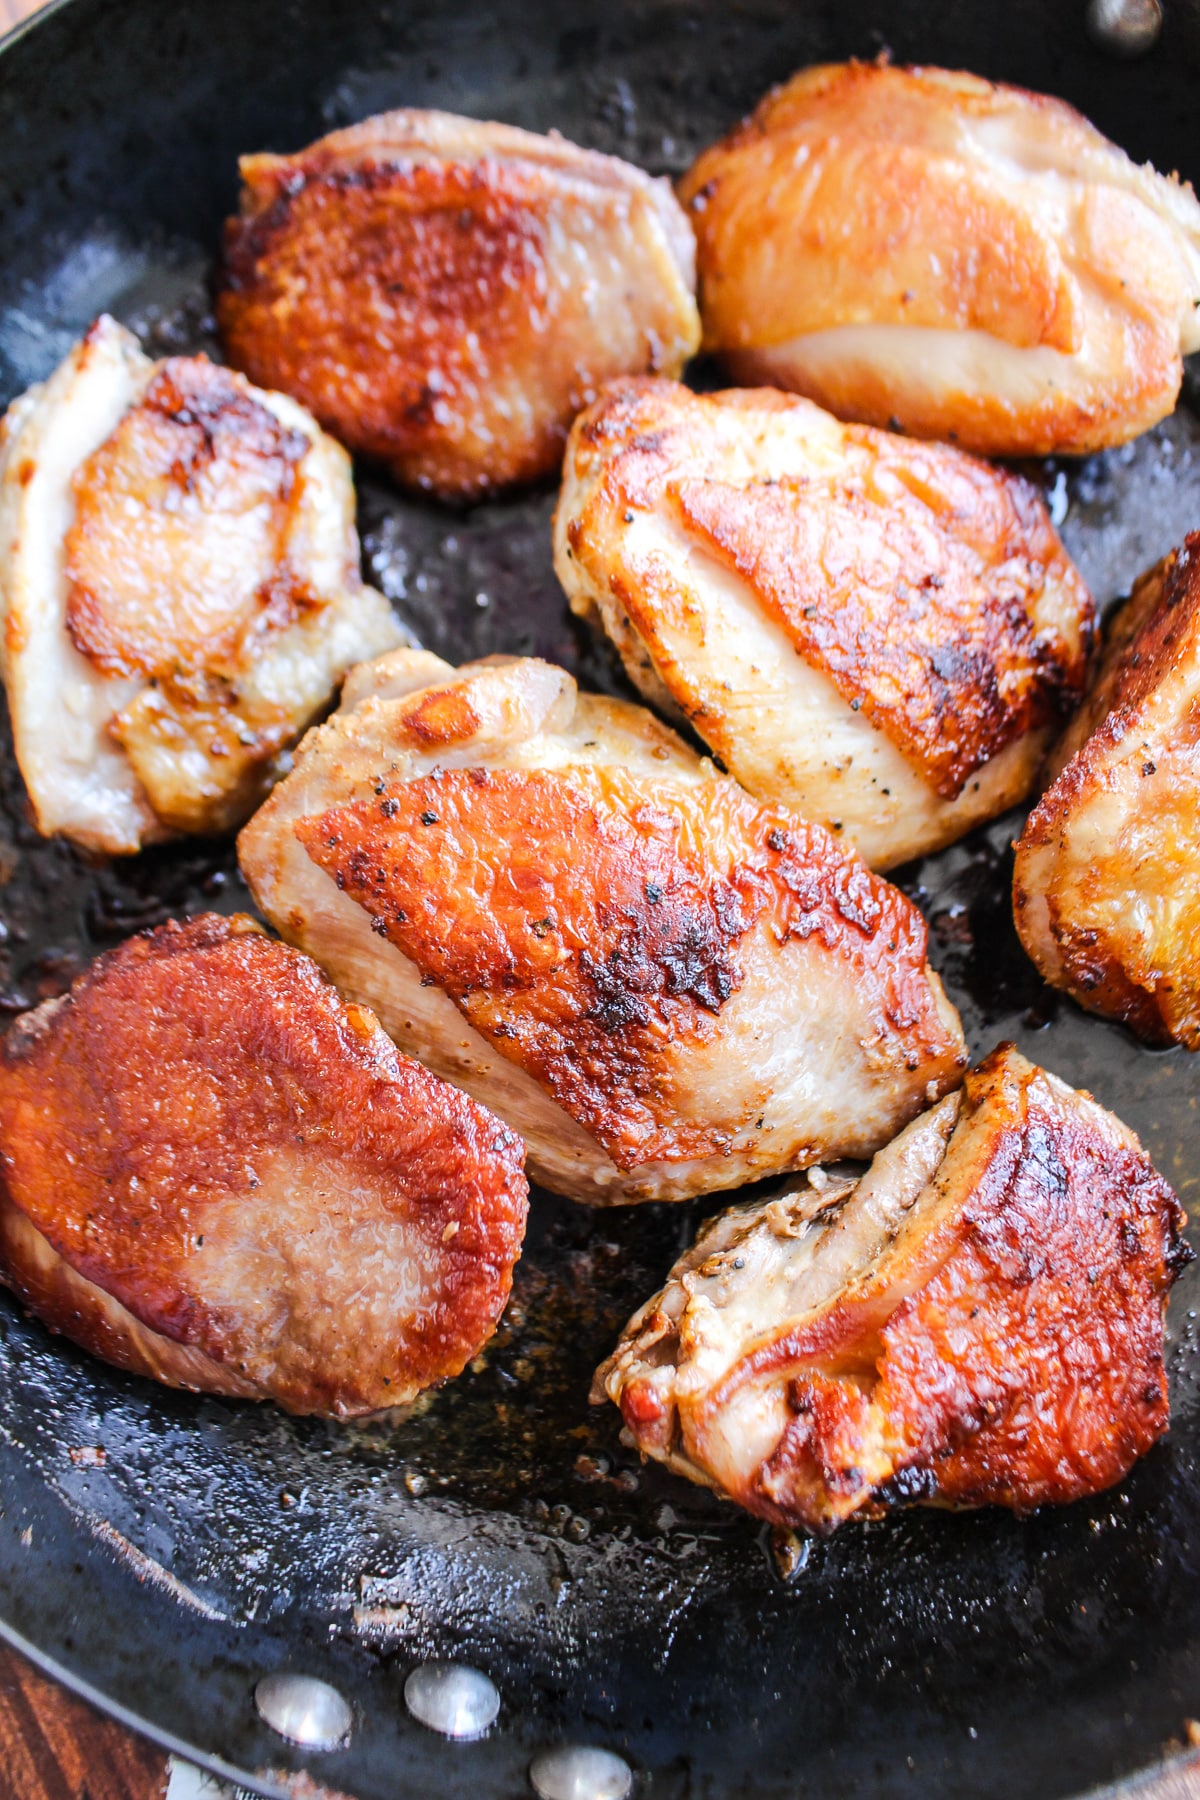
This recipe to cook chicken thighs in a cast iron skillet can be summed up in a few short steps: Salt the chicken thighs and cook them skin-side down until all the fat has rendered. Flip them and cook another 10-15 minutes. Here's my step-by-step method, but be sure to check the recipe card for the full instructions!
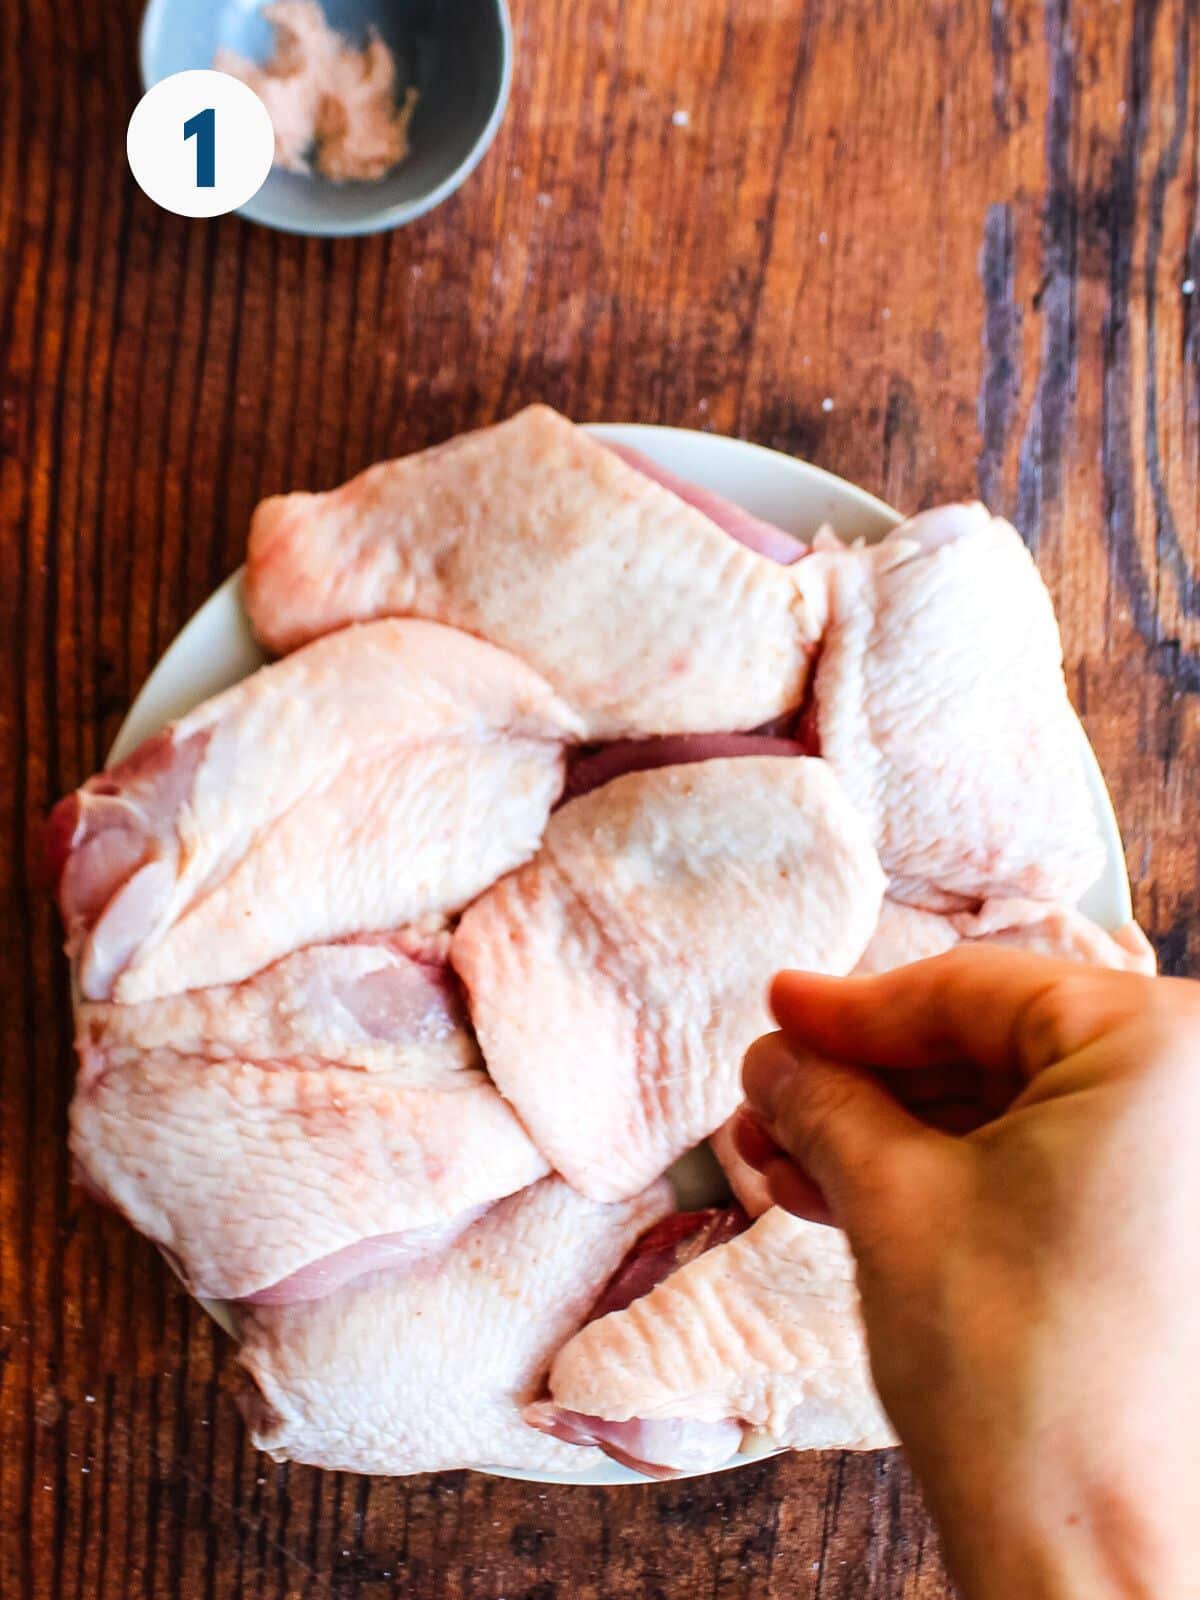
Step 1: Salt both sides of the chicken but pay special attention to the skin side. Season with additional seasonings as desired - like smoked paprika, garlic powder, pepper, and dried herbs.
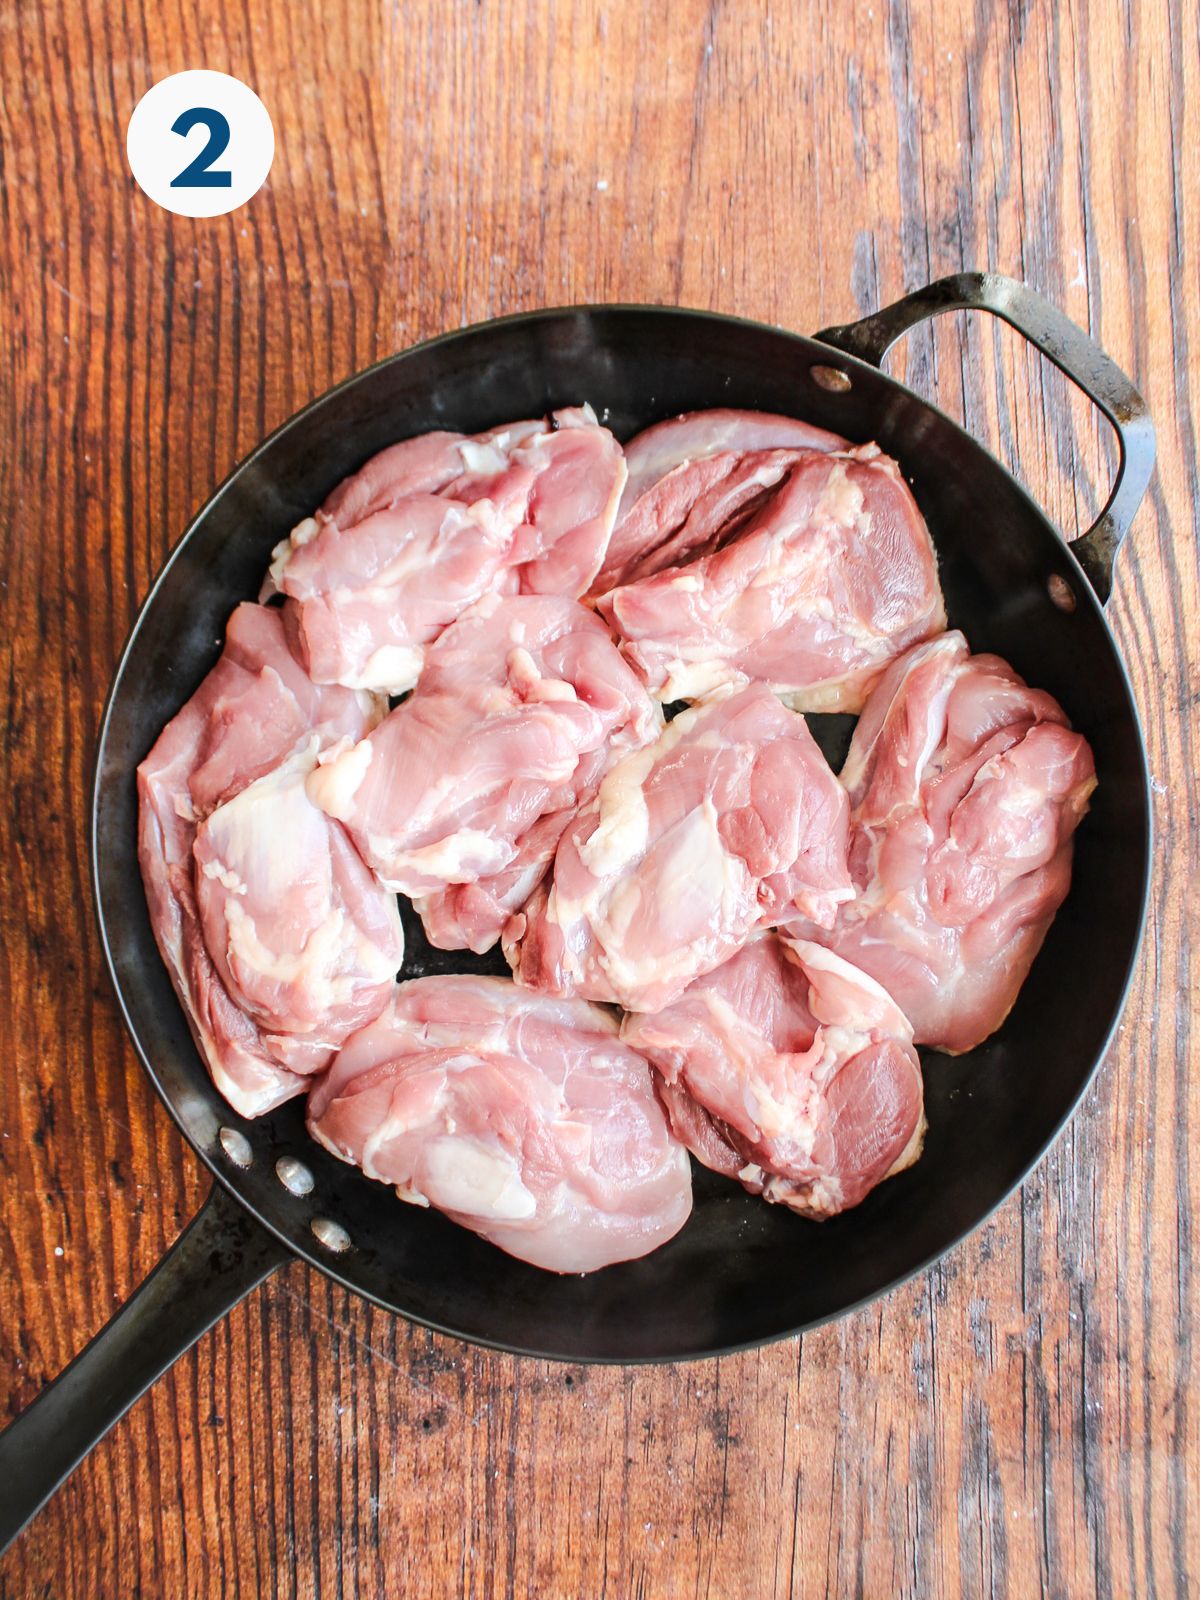
Step 2: Heat a large pan over medium to medium-low heat on the stove. Place the chicken, skin-side-down, in the pan. It’s okay to crowd it. Add the remaining seasonings, then cook uncovered and undisturbed until the fat from the chicken skin has rendered off completely.
PRO TIP: The chicken should be sizzling, but not spattering too much. If it is spattering, turn the heat down. This takes between 10-20 minutes, depending on the size of your chicken pieces. The skin should be crispy and dark brown, but not black.
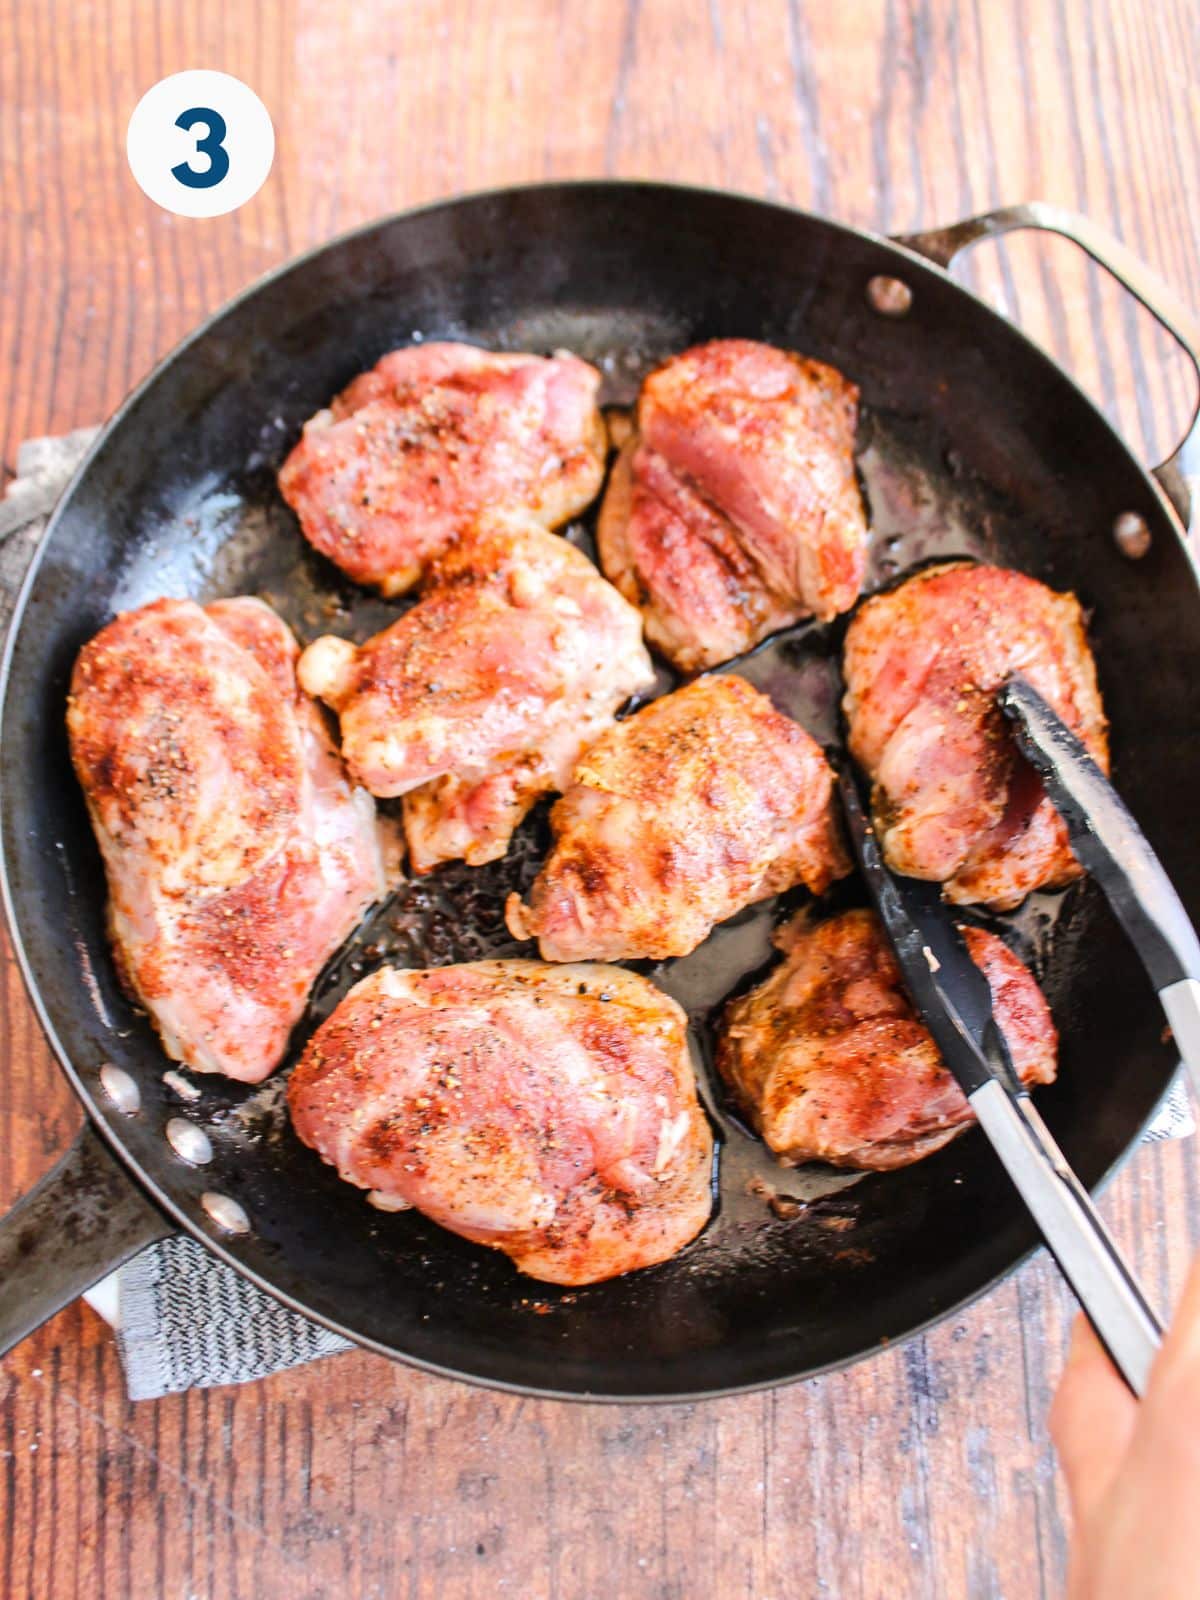
Step 3: Reduce the heat slightly and flip the chicken over.
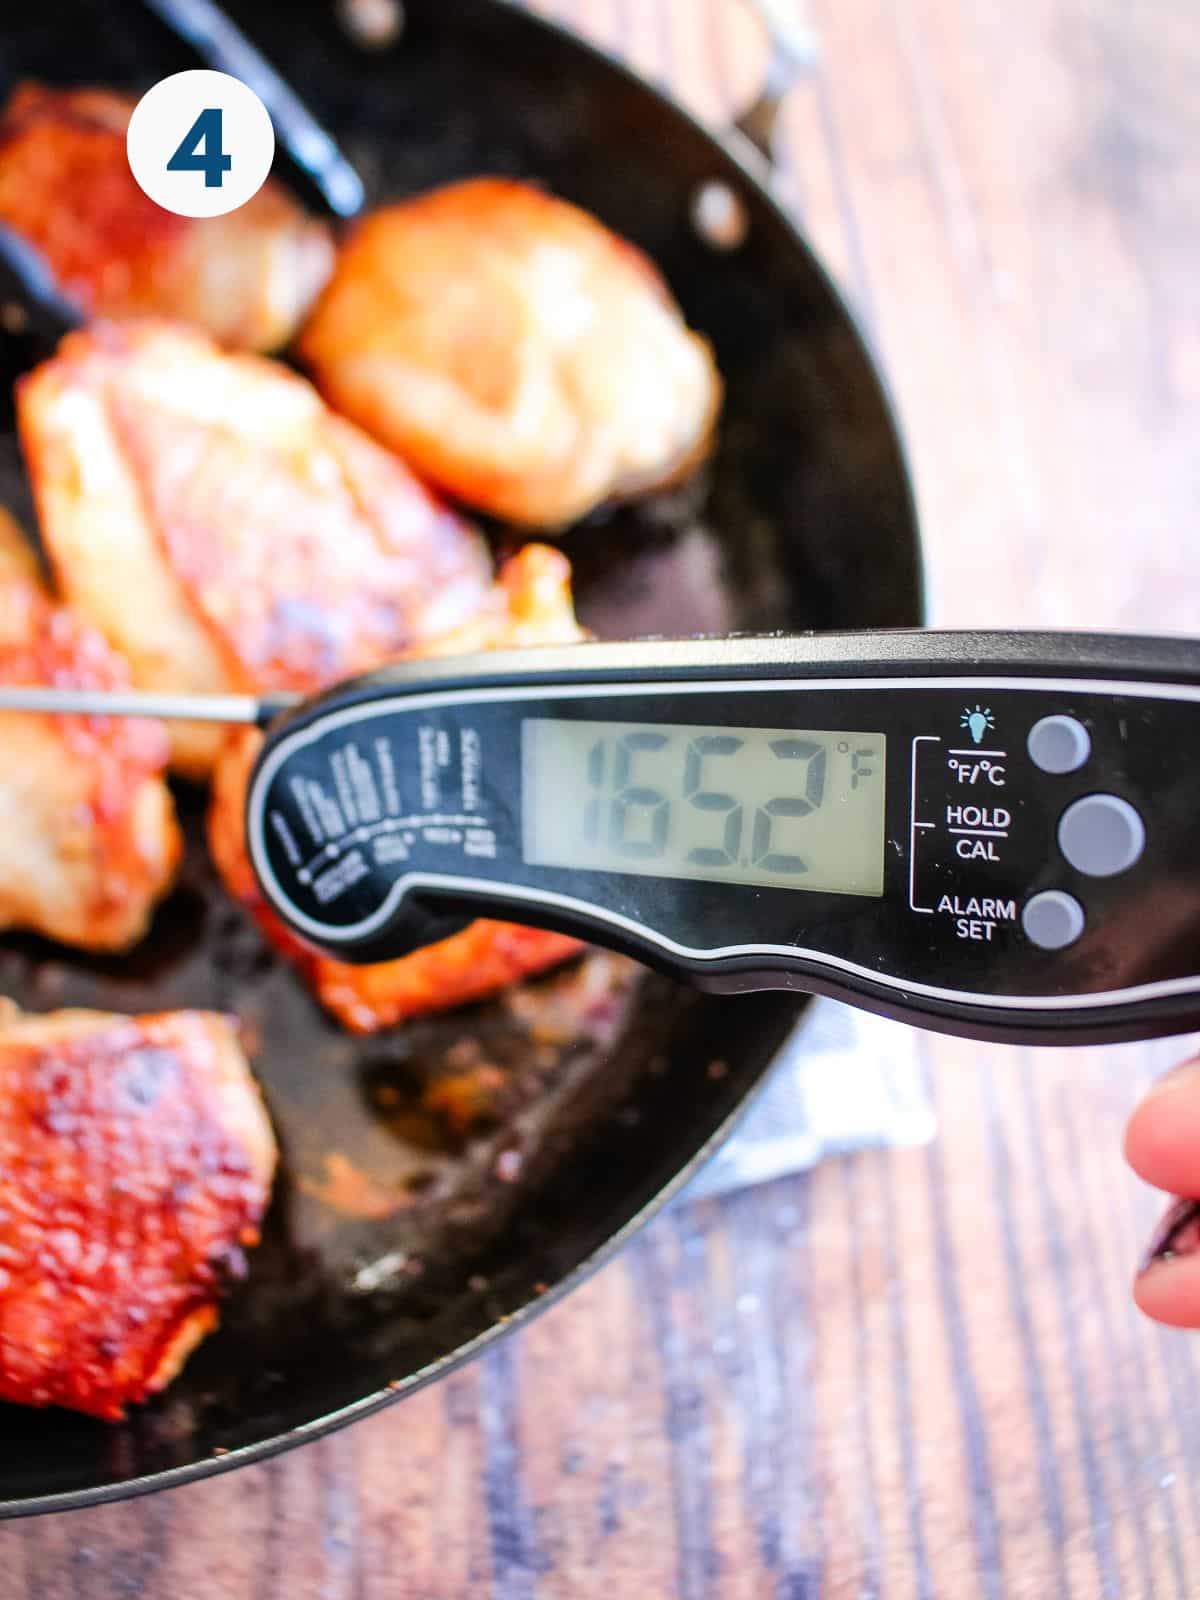
Step 4: Cook the chicken undisturbed for another 10-15 minutes or until it is cooked through. Start checking it after about 10 minutes.
Serving Suggestions
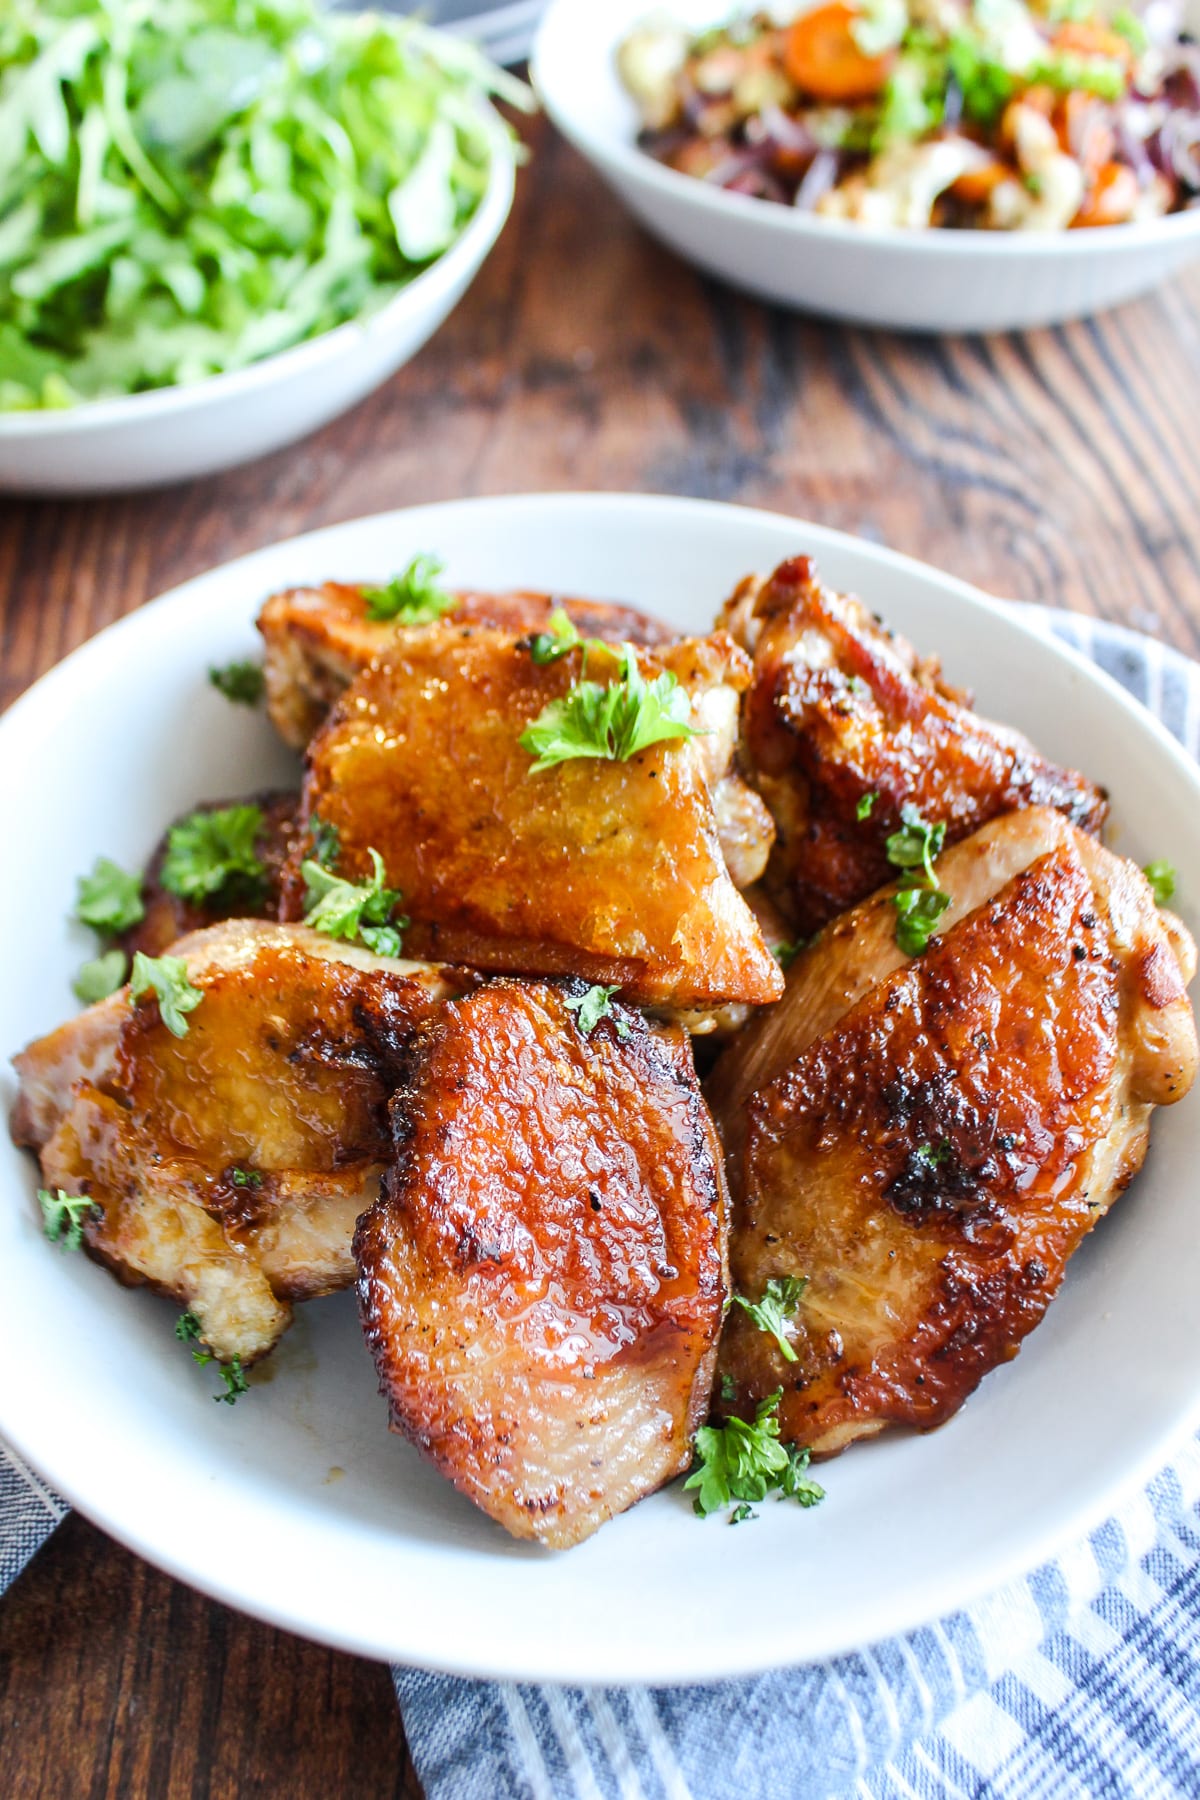
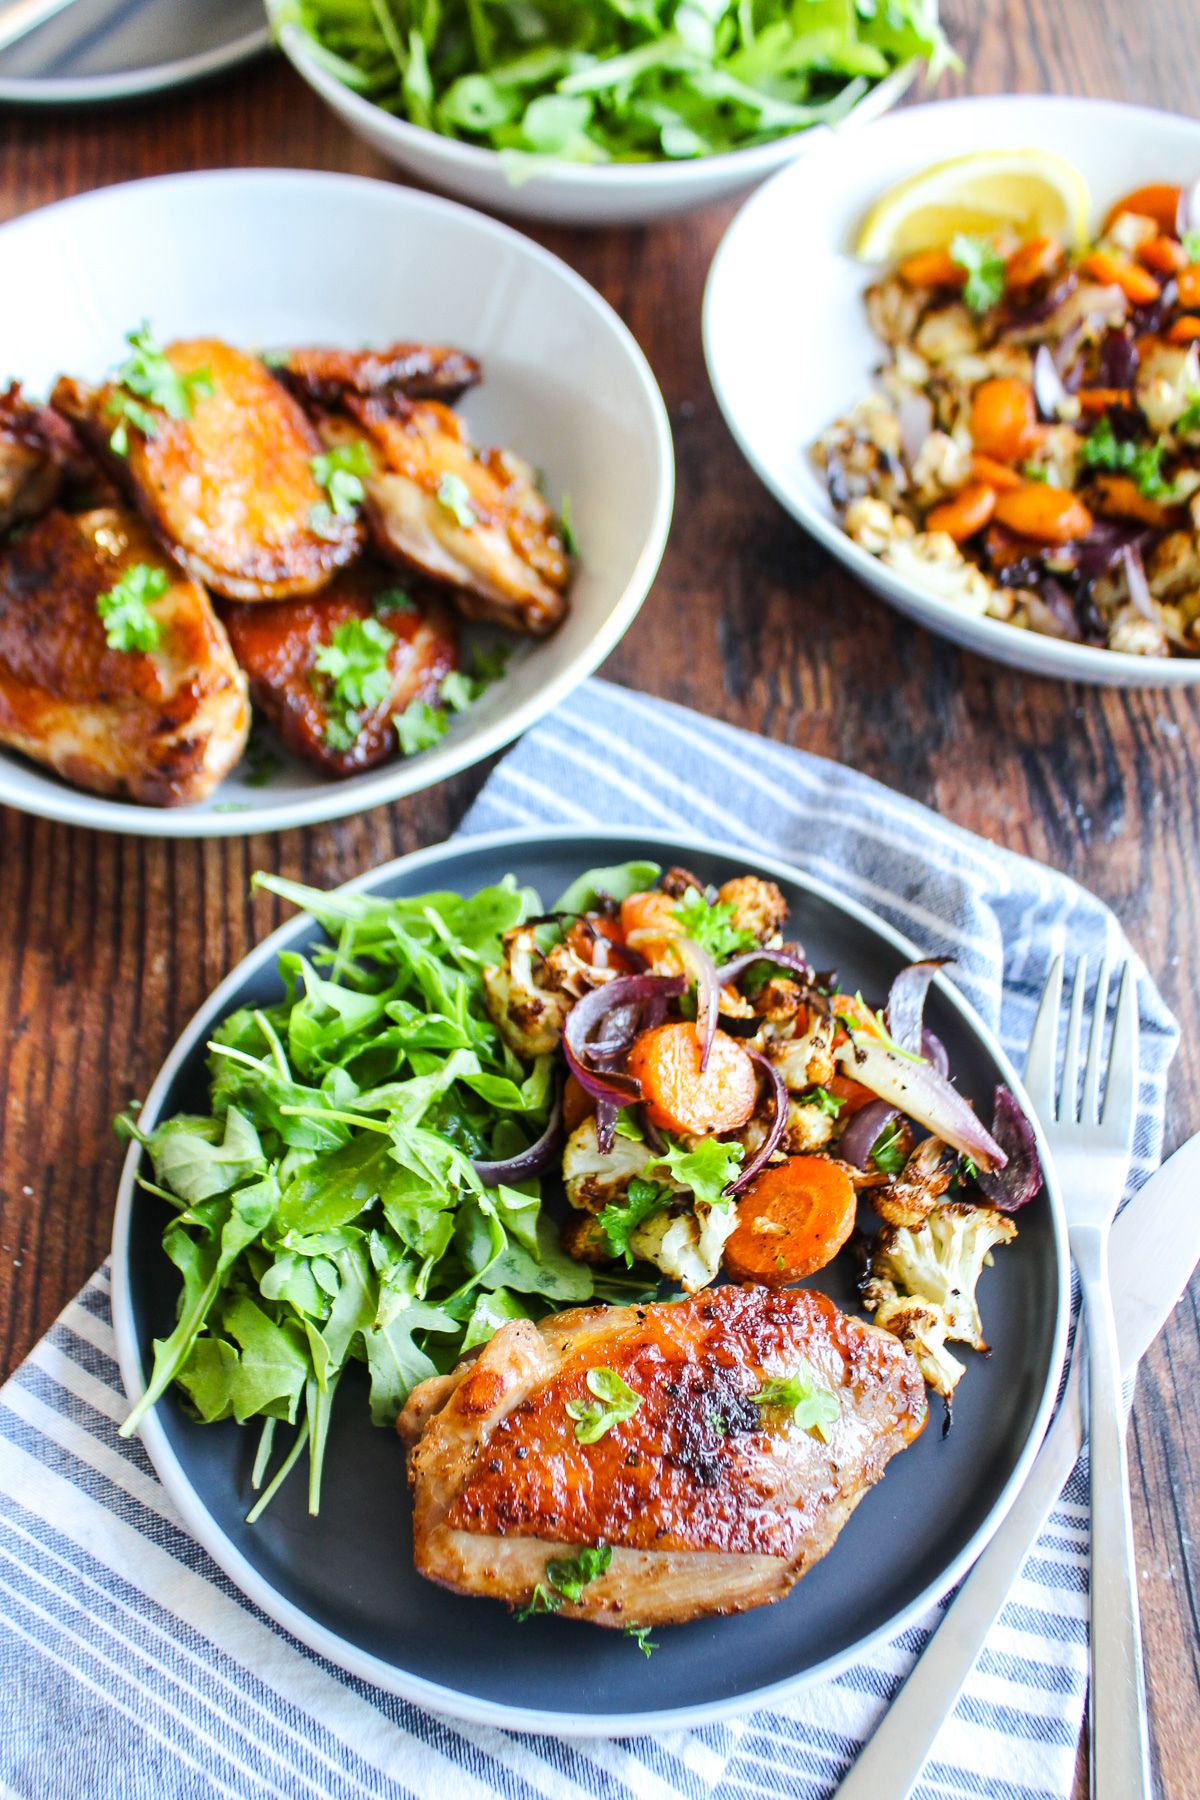
We paired our first Crispy Stovetop Chicken Thighs with Parmesan Garlic Rice (with spinach mixed in) and salad for our family feast, but I've made it about 700 times since then, and this crispy chicken is great on salad, by itself, dipped in sauce, and even on sandwiches. Enjoy!
Expert Tips
- Use skin-on and boneless chicken thighs. This combination yields the BEST results when making cast iron boneless chicken thighs.
- Don't have a cast-iron skillet? That's ok you can use any stainless steel skillet as well. Avoid non-stick skillets which won't give you that crispy sear like the metal.
- Determine the doneness of the chicken. The best way to check is to use temperature as your guide when you're cooking chicken thighs in cast iron.
FAQs
1) Make sure your skillet is hot before adding the chicken! 2) Don't flip the chicken until it is ready. If the chicken is sticking, it is probably not ready to flip yet! Other issues could be related to the cast iron pan not being properly seasoned or oiled.
I recommend cooking these chicken thighs for about 15-20 minutes on the first side (medium heat) to render the fat and create super crispy skin, and then about 10-15 minutes on the second side.
More Best Chicken Recipes
Did you like this recipe? If so, please take a moment and give it a 5-Star ⭐️⭐️⭐️⭐️⭐️ review and leave a comment further below! Don't forget to follow me on Facebook, YouTube, Instagram, and Pinterest for more delicious recipes!
Crispy Cast Iron Chicken Thighs
Ingredients
- 1 pound chicken thighs skin-on
- ½ teaspoon fine salt more to taste
- ½ teaspoon freshly cracked black pepper
- ½ teaspoon smoked paprika or any seasonings you prefer - Italian herb seasoning, garlic powder, etc.
Instructions
- If desired, cut the chicken thighs into serving-size pieces. Salt the chicken, especially the skin side.
- Warm a large cast-iron skillet or other pan with deep sides to medium to medium-low heat on the stove. Place the chicken, skin-side-down, in the pan. The skin should sizzle but not spatter too much. It’s okay to crowd it.
- Season the top of the thighs (in the pan), with additional seasonings as desired (I like black pepper and smoked paprika!), and a little more salt.
- Cook uncovered and undisturbed until the fat from the chicken skin has rendered off completely. The chicken should be sizzling, but not spattering too much. If it is spattering, turn the heat down. This step takes between 10-20 minutes, depending on the size of your chicken pieces. The skin should be crispy and dark brown, but not black. Feel free to check the pieces in the middle as needed - many pans and ovens have hot spots and some pieces may need to be flipped sooner than the others.
- Reduce the heat slightly to lowish heat, and flip the chicken. Let cook undisturbed another 10-15 minutes, or until it is cooked through. I usually let it cook for about 10 minutes, then check each piece with a thermometer. Be sure to cook until the internal temperature of each piece reaches 165ºF.
- Remove to a paper-towel-lined plate and let rest 3-5 minutes before serving.
Notes
- Oven version: to make this in the oven, you can follow the recipe as written, then bake on a 425ºF oven for about 25 minutes. Be sure to use a thermometer to check the doneness of the chicken. Be aware that larger thighs may take longer, while smaller thighs or thigh pieces will take closer to 18 minutes.
- To use bone-in thighs: I'd follow the recipe as written with one minor change. After flipping, add at least 5-10 minutes of additional cooking time to make sure it is properly cooked through.
- Or, if you're up for it, you can use some sharp kitchen shears (scissors) to cut out the bones and then just use them for stock.
- To use boneless, skinless thighs: This is much faster since you are not rendering fat out of the chicken skin. Cook for 8-10 minutes on the first side, and 5-10 minutes on the second side.
- To use chicken breast: don't! Try this recipe instead.
- Flavor Variations: if you're not into smoked paprika, feel free to use a blend of Italian herbs and garlic powder or any of your favorite seasonings instead. I have also made a version with creamy coconut milk. To do this, after flipping the chicken thighs, add about ½ cup coconut milk to the pan and let that simmer for 5-10 minutes, or until the chicken thighs are fully cooked.


I made these with bone-in chicken thighs because I couldn't find boneless with the skin still on and it is the BEST chicken skin ever! Thank you for this recipe!
I'd like to leave the thight bones in. Should I just increase the cooking time at medium low or change the cooking also ?
Hi Rob, I have made this with the thigh bone in before, and the only real difference is that in step 5 I cooked the bone-in thighs for 15-20 minutes. I also checked them with a meat thermometer just to be sure.
Hi Rob! I just wanted to update this: I have made this with the thigh bone in plenty of times now and it works great. You should still always check with a meat thermometer since sizes of thighs may vary.
These are super delicious, easy to make, and come out perfectly every time. Looking forward to making them again tonight!
Thanks, Jayme! I never knew how hard it was to find boneless skin-on thighs in the US though. :( Can't make this as often as I would like in Baltimore.
Years later and we are still making these regularly! So glad you also enjoy them. :)